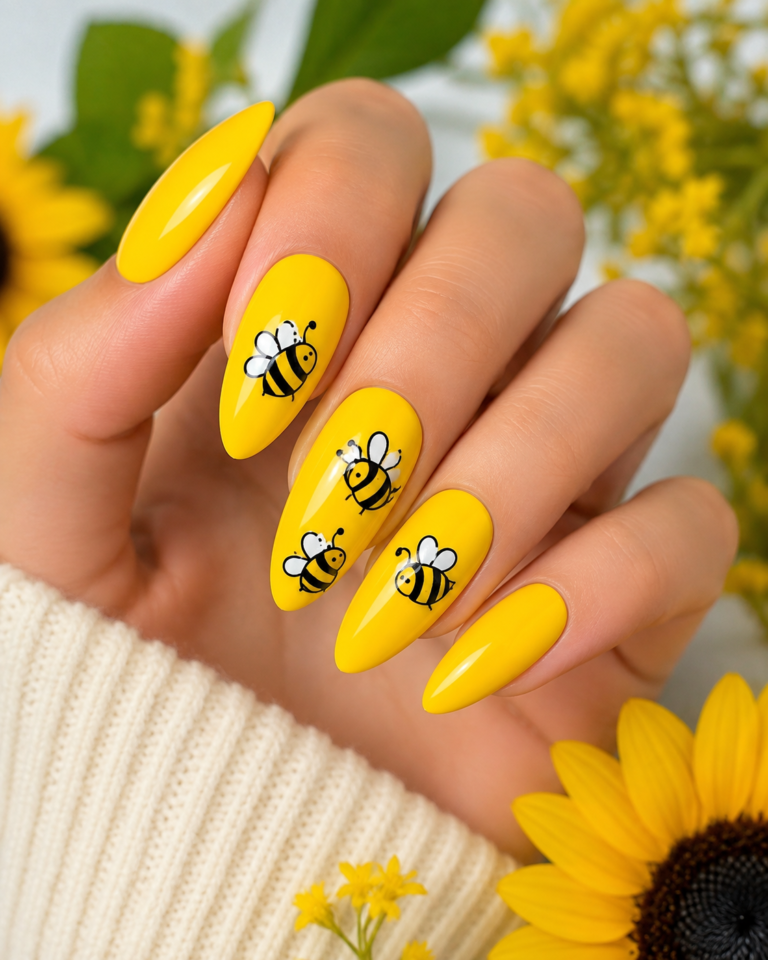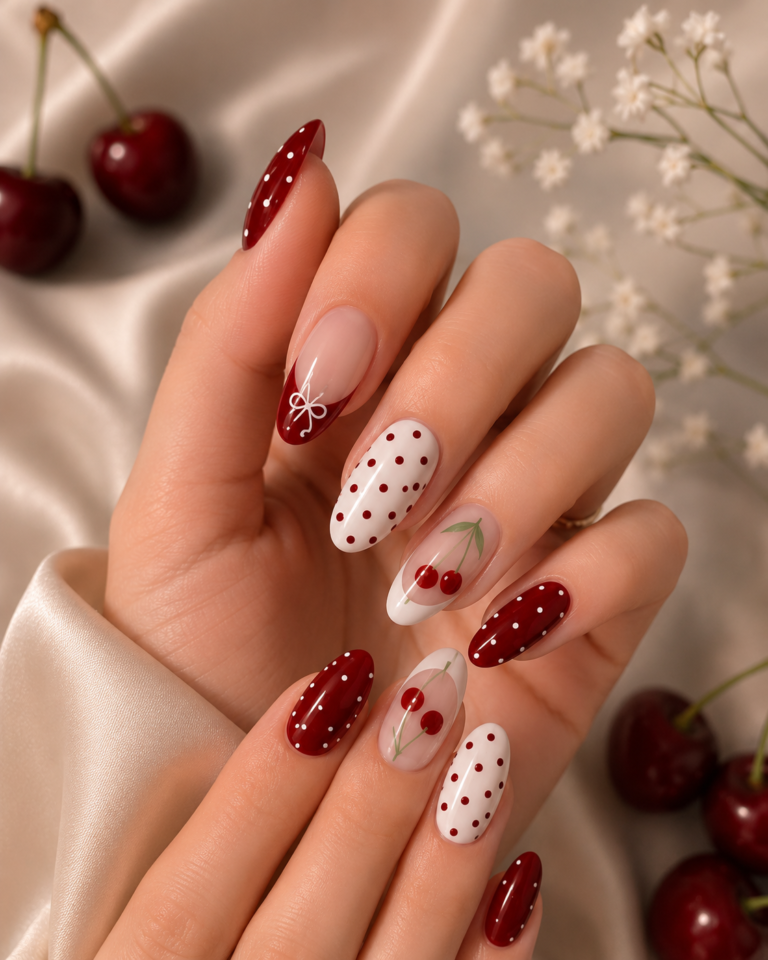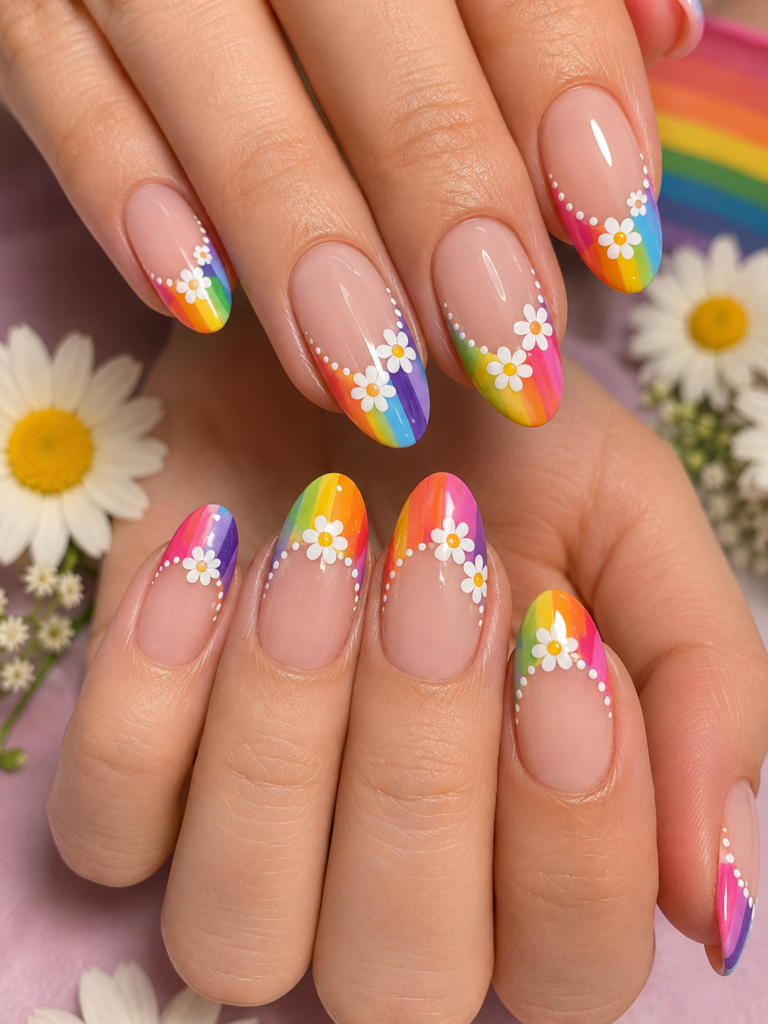
The Ultimate Masterclass in Nail Art: Techniques, Trends, Tools, and Nail Health
Nail art is far more than a passing cosmetic trend—it is a thriving form of personal expression, fine art, and self-care. From minimal micro-French tips to elaborate, three-dimensional sculpted extensions, nails have become a canvas where creativity meets technical craftsmanship.
Whether you are a complete beginner eager to paint your first clean line, an aspiring nail tech looking to perfect your gel overlays, or someone who simply loves keeping their hands manicured, this comprehensive guide covers every single aspect of nail art.
1. The Anatomy of the Nail and Prep Essentials
Before applying a single drop of polish or placing a piece of nail foil, you must understand the foundation. Great nail art lasts long and looks professional only when applied to healthy, properly prepared natural nails.
+-----------------------------------------------------------------------+
|                         NATURAL NAIL ANATOMY                          |
|                                                                       |
|   Proximal Nail Fold / Eponychium (Skin barrier at the base)          |
|      │                                                                |
|      ├── Cuticle (Dead skin seal on the nail plate)                   |
|      │                                                                |
|      ├── Lunula (The pale, half-moon shaped matrix area)              |
|      │                                                                |
|      ├── Nail Plate (Hard keratin surface where art is applied)       |
|      │                                                                |
|      └── Free Edge (The extension of the nail past the fingertip)     |
+-----------------------------------------------------------------------+
Understanding Nail Structure
- The Nail Plate: The hard, keratinized structure resting on top of the nail bed. It contains no nerves or blood vessels.
- The Cuticle: The layer of clear, dead tissue attached directly to the nail plate. It must be gently removed during prep for polish to adhere.
- The Eponychium (Nail Fold): The living skin frame around the base of your nail. Never cut living skin; only trim the dead cuticle tissue that has shed onto the plate.
- The Hyponychium: The thickened skin underneath the free edge that seals the nail bed to protect against infections.
Step-by-Step Professional Dry Prep Routine
Flawless preparation prevents lift, chips, and premature peeling. Follow this routine before every manicure:
- Sanitize: Clean your hands and tools thoroughly with 70% isopropyl alcohol.
- Soften and Push Cuticles: Gently push back the dead cuticle tissue attached to the nail plate using a wooden cuticle stick or a stainless-steel cuticle pusher at a 45-degree angle.
- Gently Clear Cuticle Tissue: Use a fine-grit buffer or micro-cuticle nipper to carefully snip away only the dead white flakes of dry cuticle tissue lifted off the plate.
- Shape the Free Edge: File the free edge in one direction (never saw back and forth, as this creates micro-tears that lead to peeling).
- Remove Shine: Use a soft 240-grit buffer to gently remove the natural oils and shine from the surface of the nail plate. You are creating micro-scratches for the product to grip onto—never file down the natural nail thickness.
- Dehydrate and Prime: Wipe away all dust using a lint-free wipe soaked in 99% isopropyl alcohol or pure acetone. Apply a dehydrator followed by a nail primer suited to your product type (acid-free primer for gel or acid primer for acrylics).
2. Nail Shapes and How to Choose the Right One
Choosing the right shape is the foundation of flattering nail art. The ideal shape balances the natural structure of your cuticle line, the width of your nail bed, and your daily lifestyle demands.
+---------------------------------------------------------------------+
|                      POPULAR NAIL SHAPES OVERVIEW                   |
|                                                                     |
|   [Square]    [Squoval]    [Round]    [Oval]    [Almond]  [Coffin]  |
|    │    │      /     \      (   )      (    )    /    \    \    /   |
|    └────┘      └─────┘      └───┘      └────┘   └──────┘   └───┘    |
+---------------------------------------------------------------------+
| Nail Shape | Description | Ideal For | Maintenance Level |
| Square | Straight sides with a sharp 90-degree flat top edge. | Wide, long nail beds; lovers of classic French manicures. | Medium (Corners can catch or break easily). |
| Squoval | Square shape with soft, gently rounded corners. | Everyone; low-maintenance everyday wear. | Low (Very durable). |
| Round | Follows the natural curve of the fingertip with straight sides. | Short nails; active lifestyles; typing-heavy jobs. | Low (Extremely break-resistant). |
| Oval | Egg-shaped taper that gently narrows toward a smooth rounded tip. | Short fingers looking to appear longer and more elegant. | Medium. |
| Almond | Tapered sides that meet at a soft, rounded point at the center. | Medium-to-long nails; elongates hands visually. | Medium-High (Requires strength overlays). |
| Coffin / Ballerina | Long tapered sides with a blunt, flat square tip. | Medium-to-long extensions; statement gel/acrylic art. | High (Requires hard gel or acrylic build). |
| Stiletto | Extremely sharp, long point tapered from the base. | Avant-garde art; photoshoots; extreme length lovers. | High (Prone to snapping without expert apex building). |
3. Essential Nail Art Tools and Materials
Building your nail art kit doesn’t require buying every tool at once, but knowing what each tool accomplishes will elevate your precision.
+-----------------------------------------------------------------------+
|                         THE NAIL ART TOOLKIT                          |
|                                                                       |
|  • Detail Brushes (5mm, 7mm, 11mm) ── Pure line work & detail         |
|  • Dotting Tools (Micro to Large) ─── Polka dots, flowers, petals    |
|  • Ombré Sponge / Brush ────────────── Seamless color gradients       |
|  • Silicone Tools ──────────────────── Chrome powder application      |
|  • Clean-up Brush (Flat angled) ────── Precision cleanup at cuticle   |
+-----------------------------------------------------------------------+
Core Brushes
- Short Striper Brush (5mm – 7mm): Designed for high-control line work, tiny details, character painting, and micro-artwork.
- Long Liner Brush (11mm – 15mm): Long bristles hold paint and allow you to pull long, laser-straight lines across the nail without lifting the brush.
- Flat Square / Gel Brush: For smooth base gel application and sharp French smile lines using the “carving” technique.
- Ombré / Fan Brush: Has feathered bristles designed to blend color transitions seamlessly.
Hardware and Accessories
- Dotting Tools: Double-ended steel tools with rounded metal balls of varying sizes. Essential for dots, flower petals, animal print spots, and heart shapes.
- Silicone Applicators: Soft rubber tips ideal for rubbing chrome powders smoothly without wasting product.
- LED/UV Lamp: For gel work, invest in a dual-wave lamp (365nm + 405nm) with at least 48W output to ensure full curing through pigmented gels.
- Palette: Glass, ceramic, or disposable foil tiles for mixing gel shades and wiping excess polish off brush bristles.
4. Mediums Explained: Polish vs. Gel vs. Acrylic vs. Dip Powder
Different nail art mediums require distinct drying/curing processes, techniques, and removal methods.
+--------------------------------------------------------------------+
|                      NAIL ART MEDIUM COMPARISON                    |
|                                                                    |
|  Air-Dry Polish   ──── Air dries naturally (Slow, thin layers)     |
|  Soft Gel (Poli.) ──── UV/LED light cure (Flexible, high shine)    |
|  Hard Gel / BIAB  ──── UV/LED light cure (Structured strength)     |
|  Acrylic / Dip    ──── Liquid/Powder reaction (Ultra-durable)     |
+--------------------------------------------------------------------+
1. Traditional Regular Polish
- Drying Mechanism: Air dries through solvent evaporation.
- Pros: Inexpensive, accessible, easy home removal with standard acetone.
- Cons: Smudges easily, long working-dry time (up to 30 mins), art can bleed during topcoat application.
- Best Art Style: Stamping, water marbling, basic dotting, striping tape art.
2. Gel Polish (Soft Gel)
- Drying Mechanism: Cures under UV/LED light via photo-initiator polymerization within 30–60 seconds.
- Pros: Instant drying, stays fluid until cured (infinite working time to perfect details), high-gloss finish lasting 2–4 weeks.
- Cons: Requires proper lamp, risk of developing gel allergies (acrylates contact dermatitis) if uncured gel touches skin.
- Best Art Style: Almost all modern nail art—line art, chrome powder, blooming gel effects, 3D gel sculpting.
3. Hard Gel & Builder Gel in a Bottle (BIAB)
- Drying Mechanism: Cures under LED/UV light into a solid, highly durable structure.
- Pros: Adds physical structural support (apex) to grow natural nails long; can extend length over nail forms. Cannot be dissolved by acetone easily.
- Cons: Requires filing off for removal; generates a “heat spike” sensation under the lamp if applied too thick.
- Best Art Style: 3D encapsulated art, sweater nails, raised textures, extended structural extensions.
4. Acrylics (Liquid Monomer + Powder Polymer)
- Drying Mechanism: Chemical cross-linking reaction that sets in 1–3 minutes without a lamp.
- Pros: Unmatched strength and longevity; incredible versatility for physical 3D flower sculpting.
- Cons: Strong chemical odor during application; steep learning curve balancing liquid-to-powder ratio.
- Best Art Style: 3D sculpted flowers, bow charms, ombre color blocking extensions.
5. Core Nail Art Techniques: Step-by-Step
Mastering nail art is about building fundamental skills. Below are detailed walkthroughs for the core design techniques every nail enthusiast should master.
+--------------------------------------------------------------------+
|                   FRENCH MANICURE CARVING TECHNIQUE                |
|                                                                    |
|  Step 1: Paint base color ──► Cure                                 |
|  Step 2: Paint curved line across tip                              |
|  Step 3: Dip clean flat brush in alcohol/acetone                   |
|  Step 4: "Carve" smile line curve cleanly ──► Cure                 |
+--------------------------------------------------------------------+
Technique 1: The Crisp Line & Micro-French Tip
A clean line requires proper brush loading and hand stabilization.
- Anchor Your Hand: Resting your pinky finger on your opposite hand provides a stable pivot point.
- Load the Brush: Dip only the bottom half of your liner brush bristles into thin paint or detail gel. Roll the brush on the palette to taper the tip.
- Paint the Center Anchor: For a French tip, mark three small dots: one at the center tip, and two high up on the side walls (the anchor points of your smile line curve).
- Connect the Points: Pull a continuous thin line from the left sidewall down to the center tip, then repeat from the right side.
- Carve for Perfection: Take a flat, angled brush dipped in alcohol (for gel) or acetone (for regular polish) and sweep along the underside of your arc line to carve a razor-sharp smile line.
Technique 2: Gradient and Ombré Art
An ombré creates a smooth, continuous color blend across the nail.
+--------------------------------------------------------------------+
|                     SPONGE GRADIENT TECHNIQUE                      |
|                                                                    |
|  [Color A Line] ──► Painted side-by-side on latex makeup sponge     |
|  [Color B Line]                                                    |
|        │                                                           |
|        ▼                                                           |
|  Dab gently on nail ──► Flash cure/dry ──► Repeat 2-3 times        |
+--------------------------------------------------------------------+
- Base Coat: Apply your lighter base shade and cure or let dry completely.
- Sponge Method: Apply a strip of Color A and Color B directly onto a dense latex-free wedge sponge, letting them overlap slightly in the middle.
- Dab Lightly: Press the sponge onto the nail using quick, bouncing movements. Shift the sponge up and down by 1mm while dabbing to blur the transition line between shades.
- Layering: Apply 2–3 light layers, curing or letting dry between each pass to build deep color intensity without heavy texture.
Technique 3: Chrome Powder Application
Chrome powders yield a high-shine mirror finish, but they require precise timing and topcoat selection.
- Base Color: Apply a black base gel for deep mirror silver/gold chrome, or a nude base for an iridescent “glazed donut” finish. Cure completely.
- Apply No-Wipe Topcoat: Apply a non-tacky (no-wipe) gel topcoat and cure for 20–30 seconds (under-curing slightly leaves the topcoat rubbery enough to grab the powder, while over-curing stops the powder from adhering).
- Rub in Chrome: Immediately dip a silicone tool or eyeshadow applicator into the chrome powder and rub firmly across the nail surface until it turns reflective like glass.
- Dust and Seal: Gently brush off loose chrome dust with a fluffy fan brush. Seal the edge of the nail free edge with primer, then cover completely with a builder gel or topcoat to prevent edge peeling.
Technique 4: Blooming Gel & Water Marble Effects
Blooming gel is a clear uncured gel that causes any gel paint dropped on top of it to disperse and spread outward dynamically.
- Snake/Croc Skin Art:
- Apply a base color and cure.
- Apply a thin layer of Blooming Gel—do NOT cure.
- Using a dotting tool, drop dark spots of gel in rows across the wet blooming gel.
- Watch the spots expand into organic snake/reptile scales over 10–20 seconds.
- Cure immediately once the desired spread is achieved.
6. Current Global Trends in Nail Art
Nail art aesthetics evolve rapidly. Below are the defining global style trends dominating modern salons:
+-----------------------------------------------------------------------+
|                         MODERN NAIL ART TRENDS                        |
|                                                                       |
|  • Aura Nails ───────────── Airbrushed aura glow spots in center       |
|  • 3D Jelly Gel ────────── Sculpted raised droplets & swirls         |
|  • Velvet / Cat-Eye ────── Magnetic shimmer particle manipulation     |
|  • Y2K / Cyber ─────────── Metallic chrome, stars, cross decals       |
+-----------------------------------------------------------------------+
1. Aura Nails
Distinguished by a soft, glowing gradient spot in the center of the nail plate, simulating a personal “energy aura.” Created using a mini airbrush gun or softly sponged gel pigments over contrasting base shades.
2. Velvet & Cat-Eye Nails
Using gel polishes containing fine magnetic iron particles. When a strong magnet is held near the wet uncured polish, the metallic shimmers pull to the surface, creating an iridescent, 3D velvet effect that shifts under lighting.
3. 3D Sculpted Jelly Art
Pioneered in Korean and Japanese nail art scenes, this style uses crystal-clear thick builder gels or solid sculpting putty gels to craft 3D drops, ribbons, shell textures, or gummy bear shapes raised off the surface of the nail.
4. Coquette Aesthetic
Emphasizes romantic, hyper-feminine detailing: hand-painted lace, soft pastel pink bases, pearl embellishments, micro-ribbons, and delicate heart motifs.
7. Troubleshooting, Sanitation, and Maintenance
Executing beautiful art is only half the battle; maintaining health and durability requires strict hygiene and proper aftercare.
Preventing Gel Allergies (Contact Dermatitis)
Acrylate allergies are permanent and can prevent you from wearing gels or acrylics in the future. Prevent exposure by following these rules:
- Zero Skin Contact: Never let uncured liquid gel sit on the surrounding skin. If uncured gel touches skin, wipe it off immediately with alcohol before curing.
- Fully Cure Products: Low-power wattage lamps or under-curing leaves uncured monomer trapped beneath the top layer, which seeps into the nail bed over time.
- Invest in Quality Lamps: Match your curing lamp to the system brand you are using when possible.
Aftercare for Long-Lasting Nail Art
- Cuticle Oil Daily: Apply a high-quality jojoba-based cuticle oil twice daily. Jojoba oil molecules are small enough to penetrate the nail plate, keeping the natural nail flexible so it doesn’t snap away from hard gel/acrylic overlays.
- Wear Gloves: Household cleaning chemicals, detergents, and prolonged exposure to hot water cause enhancements to break down and lift prematurely.
- Never Pick or Peel: Scraping off gel or acrylic rips off the top layers of your natural keratin nail plate, leaving behind thin, red, damaged nails. Always soak off gel using 100% pure acetone or file down carefully using an e-file under trained hands.
Final Thoughts: Finding Your Style
Nail art is an art form where mistakes can easily be wiped away with a brush dipped in alcohol or acetone to start fresh. The key to mastering line work, gradients, and sculpted designs is patience and muscle memory. Start by mastering dry nail prep and basic color painting before building up to detail work, chrome overlays, and complex 3D art. With consistent practice, steady hands, and healthy nail care habits, your nails will become your ultimate canvas of personal style.